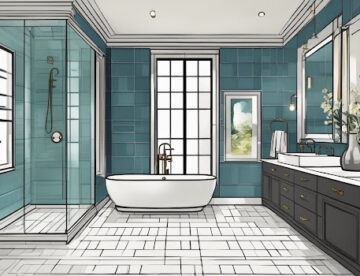
Embarking on a bathroom renovation can elevate your home’s comfort, functionality, and aesthetic appeal. If you’re planning a Bath Renovation Fulton County, it’s essential to approach the project with careful planning and awareness of key factors. Fulton County homeowners have unique needs and preferences, making it crucial to tailor your renovation to suit your space,…
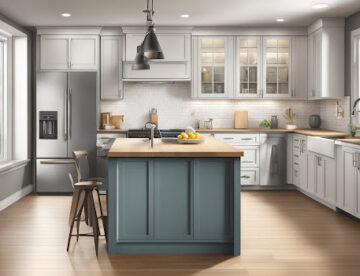
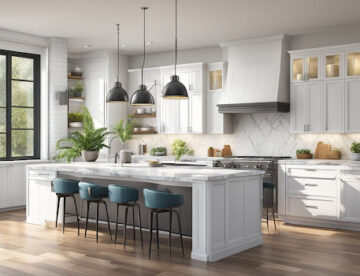
Embarking on a kitchen renovation in Amsterdam, New York, is an exciting journey that can transform your home into a culinary oasis. However, successfully completing such a project hinges on selecting the right kitchen renovation contractor Amsterdam. To ensure your renovation meets your expectations, it’s crucial to consider several key factors before hiring a contractor….
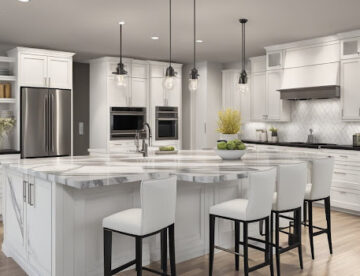
Embarking on a kitchen renovation Amsterdam can transform your home into a more functional and stylish space. Whether you’re upgrading for modern aesthetics or enhancing usability, thoughtful planning is essential. To help you get started, here are five key factors to consider for your Kitchen Renovation in Amsterdam. Define Your Budget and Priorities Before beginning…
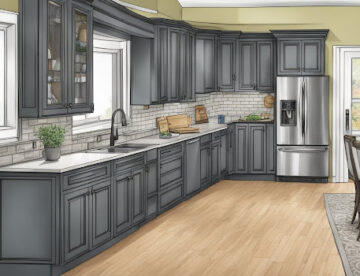
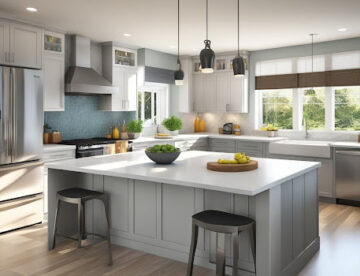
Remodeling a kitchen can significantly enhance both the functionality and aesthetic appeal of a home, and nowhere is this more evident than in the Sacandaga area. With a blend of natural beauty and growing community, improving kitchen spaces has become a trend on the rise. Whether it’s new cabinetry, updated appliances, or innovative layout solutions,…
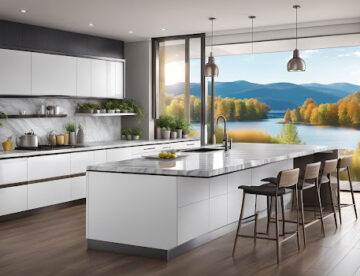
Transforming a kitchen can dramatically enhance the functionality and aesthetic appeal of a home. A Kitchen Remodel Northville offers the opportunity to tailor their space to specific tastes and needs while potentially increasing property value. Choosing the right materials, design, and layout is essential to achieving a balance between style and practicality. A successful Kitchen…
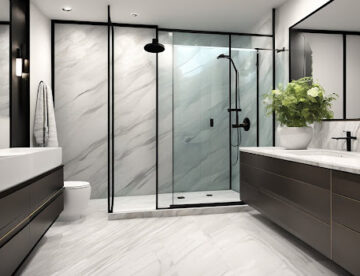
A Bath Renovation Fonda can transform average bathrooms into spaces of relaxation and style. Their approach combines quality craftsmanship with modern design, ensuring each project not only meets but exceeds expectations. Homeowners seeking to enhance their bathroom will find Bath Renovation Fonda offers both innovative solutions and dependable service. The company stands out for its…

Renovating a bathroom in Amsterdam presents an exciting opportunity to blend modern design with the city’s historic charm. From contemporary fixtures to eco-friendly solutions, the range of renovation options is vast, catering to different styles and budgets. Understanding the local regulations is crucial, as they can influence both the scope and cost of the Bath…
A Kitchen Remodel Mayfield can transform a dated space into a functional and stylish hub of the home. As one of the most significant upgrades a homeowner can undertake, it offers an opportunity to enhance both the aesthetics and value of the property. By focusing on quality materials and thoughtful design, homeowners can ensure their…
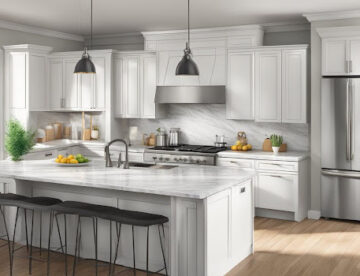
A Kitchen Remodel Johnstown offers the perfect opportunity to breathe new life into one of the most important spaces in the home. Whether looking to modernize outdated fixtures or enhance functionality, transforming a kitchen can significantly boost both the aesthetic appeal and the value of a property. For those considering a Kitchen Remodel Johnstown, understanding…
Revamping a kitchen can significantly enhance both the functionality and aesthetic appeal of a home. A Kitchen Remodel Gloversville is an opportunity to tailor their cooking and dining space to better meet their family’s lifestyle needs. Whether it’s increasing storage, updating appliances, or creating an open-concept design, the possibilities are vast and exciting. When considering…