
SERVICES
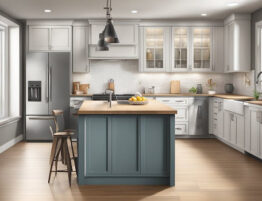
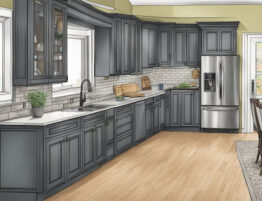
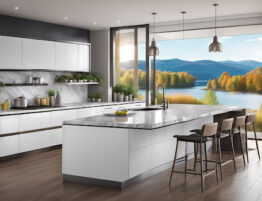
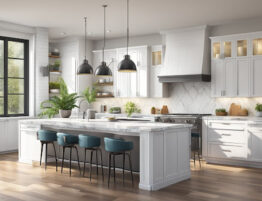
Your kitchen.
From cabinet upgrades to a complete kitchen makeover we can give you the kitchen of your dreams.
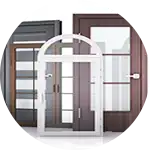
Windows & Doors
Reduce your energy expense with beautiful, cost effective, efficient, windows and doors
Additions
Looking to add living space? From new additions to garage build, the 518Renovation team can tackle all your home addition needs
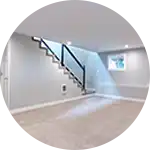
Basement Renovations
The 518Renovations team can quickly and economically add more living space to your home by remodeling your basement.
Decks
Every home needs a great deck and the 518Renovations team is especially good at building beautiful, safe decks
Painting
If your house needs painting, both inside and out, you can count on neat, professional work.
Flooring
You’ll be amazed at how quickly we can transform your home with new flooring. Hardwood, lamine, LVT, tile. You name it and we can floor it
"Create with the heart; build with the mind."
— Jennifer DuMond"I had a few big projects done by these guys and they are top notch. Best team around only guys I trust doing work in my home. They were very professional and knowledgeable I will definitely be using 518renovations again for my next project"
"We are all constructed out of our self dialogue."
— Kristen Willis"These guys are top notch in every aspect from skill level to customer service. The quality of product and the service they provide sets them way ahead of their competitors. Don't second guess it.... CALL them!"
LATEST NEWS
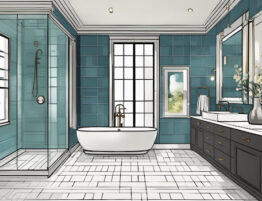
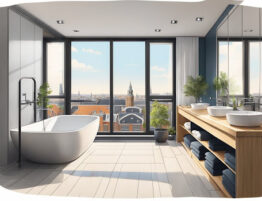
Embarking on a bathroom renovation can elevate your home’s comfort, functionality, and aesthetic appeal. If…
Embarking on a kitchen renovation in Amsterdam, New York, is an exciting journey that can…
Embarking on a kitchen renovation Amsterdam can transform your home into a more functional and…
Remodeling a kitchen can significantly enhance both the functionality and aesthetic appeal of a home,…
Transforming a kitchen can dramatically enhance the functionality and aesthetic appeal of a home. A…
A Bath Renovation Fonda can transform average bathrooms into spaces of relaxation and style. Their…
Renovating a bathroom in Amsterdam presents an exciting opportunity to blend modern design with the…
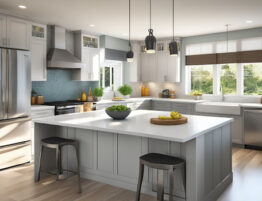
A Kitchen Remodel Mayfield can transform a dated space into a functional and stylish hub…
Are easy to find, so a visitor can quickly get in touch with you. CONTACT US
Online Access
Our simple online system makes it possible to access your project from any computer, tablet, or smartphone.
To access your account please contact Buildertrend at 1-877-309-0368.